매니지드 K8S가 아닌 자체 관리형 K8S에서의 Longhorn 구축 방법
UI 접근을 위한 외부 통신으로 MetalLB+HAproxy+Nginx Controller가 구성 되었다는 전제 하에 구축
CSP 환경이라면 Ingress 설정에서 AWS ALB Controller와 같은 로드밸런서를 사용해 훨씬 간편하게 구축 가능
개요
- 자체 관리형 K8S에서 애플리케이션의 데이터를 고가용성으로 운영하려면 Ceph, Longhorn 같은 분산 블록 스토리지 툴이 필요
- 노드마다 데이터를 복제해서 저장하는 분산 블록 스토리지
- Ceph, Longhorn 같은 툴이 없다면 파드는 워커노드의 로컬 경로에만 데이터를 저장해야 하는데, 이러면 워커노드 장애가 발생할 경우 데이터 가용성 보장이 안됨
- NFS를 StorageClass로 사용할 수 도 있지만, NFS는 단일 서버, 단일 네트워크 I/O에 의존하기 때문에, 성능과 장애 내구성이 떨어져 PV 데이터 저장 용도로는 부적합
- Ceph 퍼포먼스가 더 뛰어나지만 리소스 자원을 꽤 점유하는 툴이므로, 현재 환경에서는 Longhorn을 사용
- 워커 노드가 5대 이상, 8vCPU 16GB 이상인 스펙이어도 Longhorn으로 충분히 운영 가능
Longhorn을 쓰면 PVC를 생성하는 것 만으로도 PV가 자동으로 프로비저닝됨!!!
- AWS라면 EBS같은 스토리지를 통해 고가용성 확보 가능
- ALB Controller와 마찬가지로 CSP 관리형 K8S를 쓰는 또하나의 이유
구조
- PVC가 생성되면 Longhorn Volume을 관리하는 Engine Pod가 생성되고, 하위에 Replica Pod들이 각 노드에 생성됨
- Replica Pod는 해당 노드의 특정 경로에 전체 데이터 replica를 저장
- 쓰기 I/O는 Engine Pod가 받아서 모든 Replica Pod에 동기 복제한 뒤 성공을 리턴
- Pod가 노드1에서 노드2로 옮겨지면 Longhorn이 볼륨을 노드1에서 detatch 했다가 노드2로 attatch
- 이때 노드2에 Replica가 있으면 그대로 사용, 없으면 다른 Replica에서 동기받아서 새 Replica 생성
Longhorn 설치
- Longhorn 공식 문서: https://longhorn.io/docs/1.9.1/deploy/install/install-with-helm/
- https://longhorn.io/docs/1.9.1/advanced-resources/deploy/customizing-default-settings/#using-helm
helm 리포지토리 추가s
1
2
helm repo add longhorn https://charts.longhorn.io helm repo updatevalues.yaml 수정
1
2
3
helm pull longhorn/longhorn --untar cd longhorn vim values.yaml1 2 3 4 5 6 7 8persistence: ... defaultClassReplicaCount: 2 defaultSettings: ... defaultDataPath: /data defaultReplicaCount: 2helm 설치
1 2 3 4 5helm install longhorn longhorn/longhorn \ --namespace longhorn-system \ --create-namespace \ --values values.yaml kubectl -n longhorn-system get pod
Longhorn UI 접속
auth 파일 생성
- 반드시 auth라는 이름으로 생성 필요
1USER=<USERNAME_HERE>; PASSWORD=<PASSWORD_HERE>; echo "${USER}:$(openssl passwd -stdin -apr1 <<< ${PASSWORD})" >> authsecret 생성
1kubectl -n longhorn-system create secret generic basic-auth --from-file=authingress 생성
80포트를 사용하는 longhorn service로 연결
1 2 3 4 5 6 7 8 9 10 11 12 13 14 15 16 17 18 19 20 21 22 23 24 25 26 27 28 29 30 31 32 33cat <<EOF > longhorn-ingress.yaml apiVersion: networking.k8s.io/v1 kind: Ingress metadata: name: longhorn-ingress namespace: longhorn-system annotations: # type of authentication nginx.ingress.kubernetes.io/auth-type: basic # prevent the controller from redirecting (308) to HTTPS nginx.ingress.kubernetes.io/ssl-redirect: 'false' # name of the secret that contains the user/password definitions nginx.ingress.kubernetes.io/auth-secret: basic-auth # message to display with an appropriate context why the authentication is required nginx.ingress.kubernetes.io/auth-realm: 'Authentication Required ' # custom max body size for file uploading like backing image uploading nginx.ingress.kubernetes.io/proxy-body-size: 10000m spec: ingressClassName: nginx rules: - host: "longhorn.local" http: paths: - path: / pathType: Prefix backend: service: name: longhorn-frontend port: number: 80 EOF kubectl -n longhorn-system apply -f longhorn-ingress.yaml
- HAproxy 설정
ingress를 조회하여 MetalLB로부터 부여받은 IP 확인
- 현재는 172.27.1.100
1
2
3
# kubectl get ingress -n longhorn-system NAME CLASS HOSTS ADDRESS PORTS AGE longhorn-ingress nginx longhorn.local 172.27.1.100 80 8s확인한 IP를 HAproxy 설정에 추가
- HAproxy 서버 공인 IP로 접근 시 Longhorn의 Ingress로 통신되도록 설정
1
2
3
vim /etc/haproxy/haproxy.cfg haproxy -c -f /etc/haproxy/haproxy.cfg systemctl reload haproxy1 2 3 4 5 6 7 8 9 10 11 12 13 14frontend unified_frontend_8080 bind *:8080 mode http option forwardfor http-request set-header X-Forwarded-Host %[req.hdr(host)] http-request set-header X-Forwarded-Proto http http-request set-header X-Forwarded-Port %[dst_port] # Host 기반 라우팅 use_backend metallb_backend_longhorn if { hdr(host) -m sub longhorn } backend metallb_backend_longhorn server longhorn 172.27.1.100:80
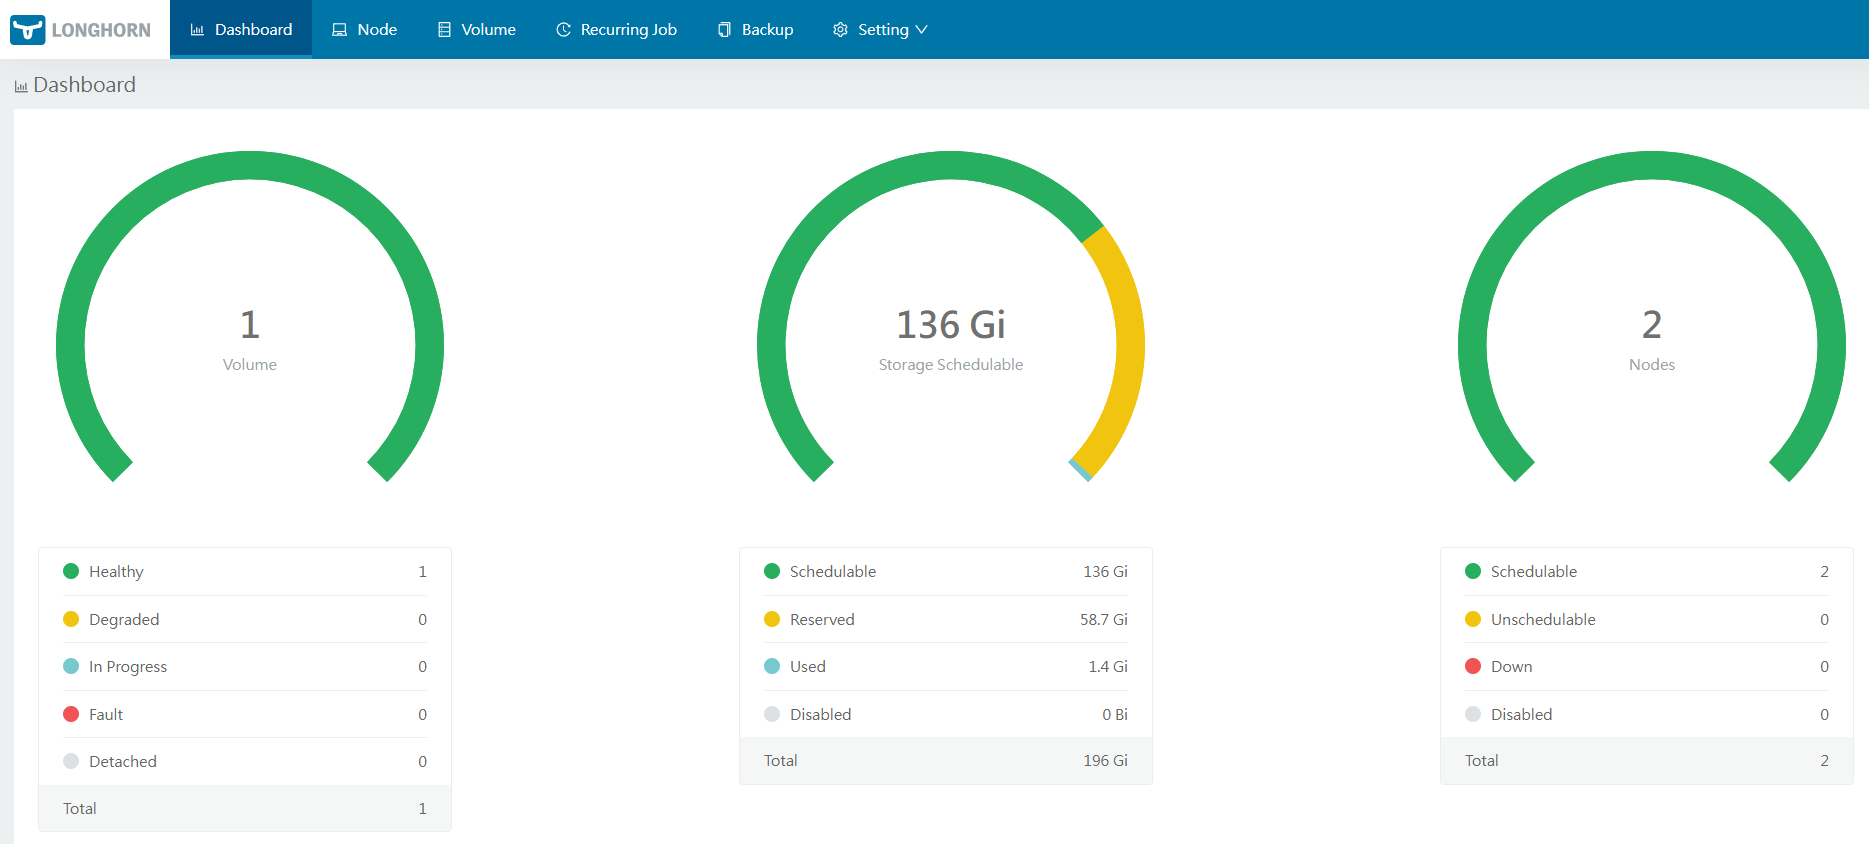
접근 성공!